
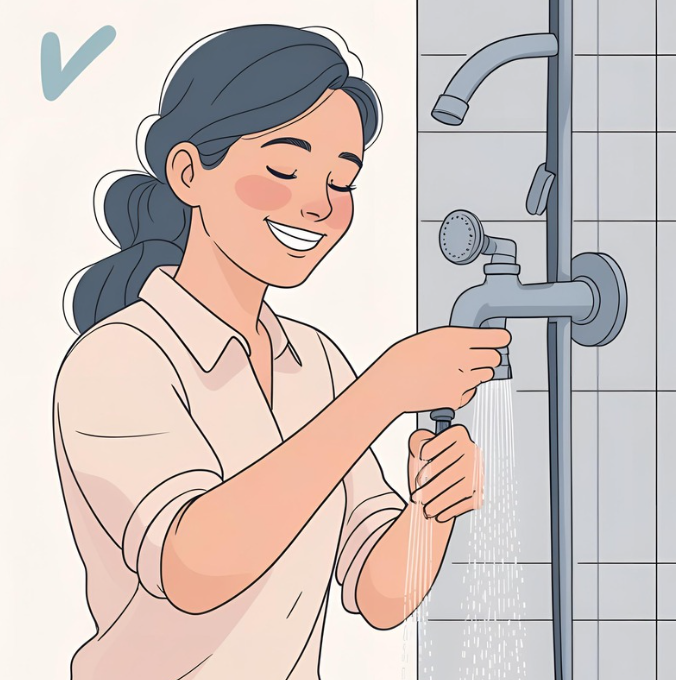
A dripping shower head wastes water, drives up your bills, and gets annoying fast. Good news: you don’t need a plumber or fancy tools. Whether your spray holes are clogged or the rubber washer is worn, these DIY shower head repair tips will have you stopping that leak in no time.
🚿 Method 1: Unclog & Descale Your Shower Head
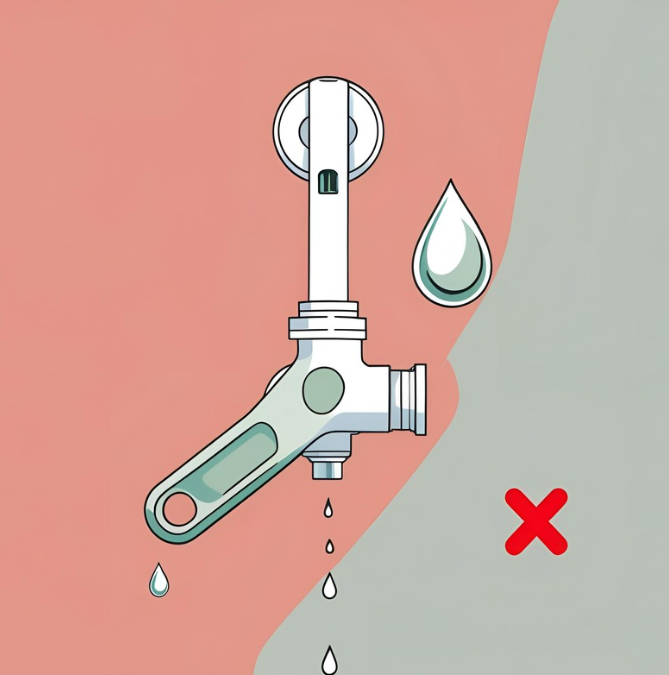
Why it leaks: Mineral deposits (lime, calcium) clog the spray holes and force water out around the edges.
-
Shut off the water.
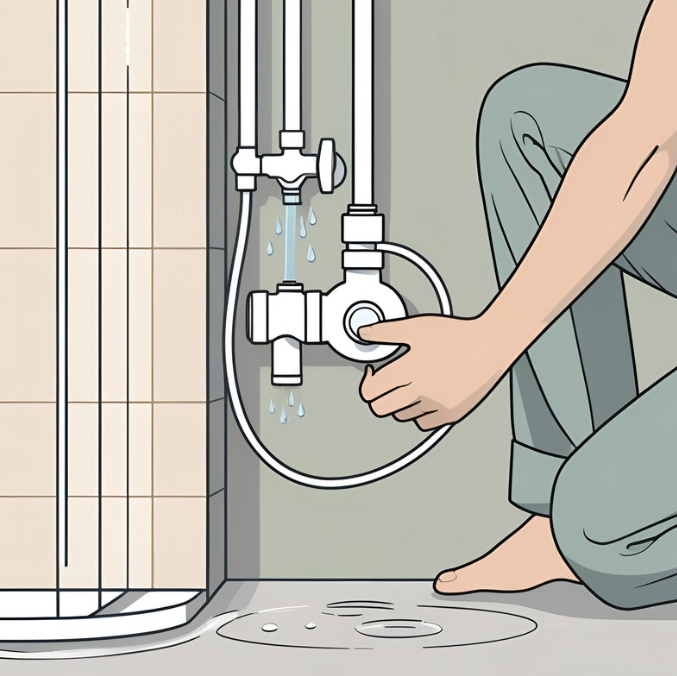
Turn off the shower valve or the bathroom’s shut‑off.
-
Remove the head or faceplate.
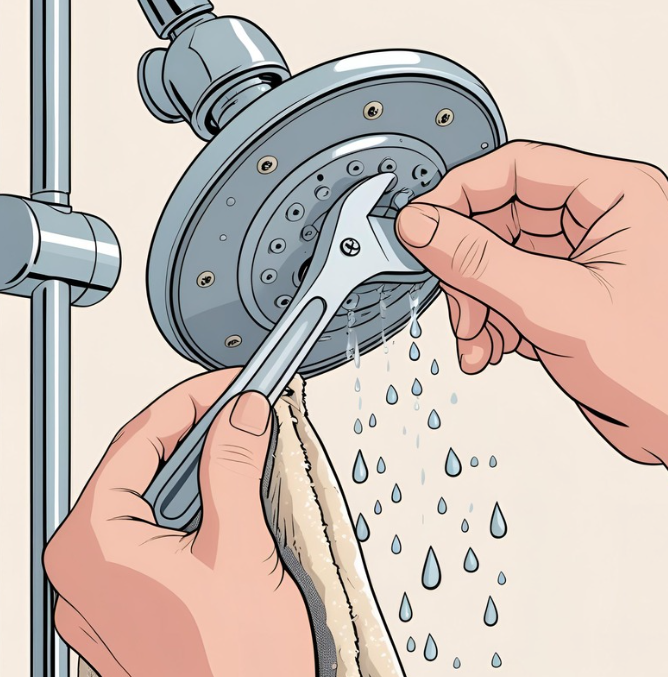
Unscrew just the faceplate if possible—otherwise detach the entire head with a wrench (protect surfaces with a rag).
-
Soak in vinegar + salt (8 hrs).
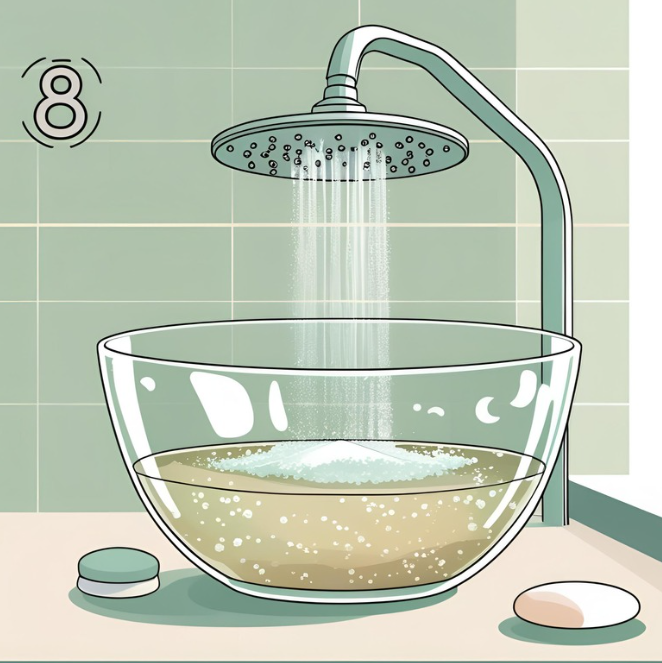
Submerge the part in white vinegar with a handful of coarse salt to dissolve deposits.
-
Pick and scrub.
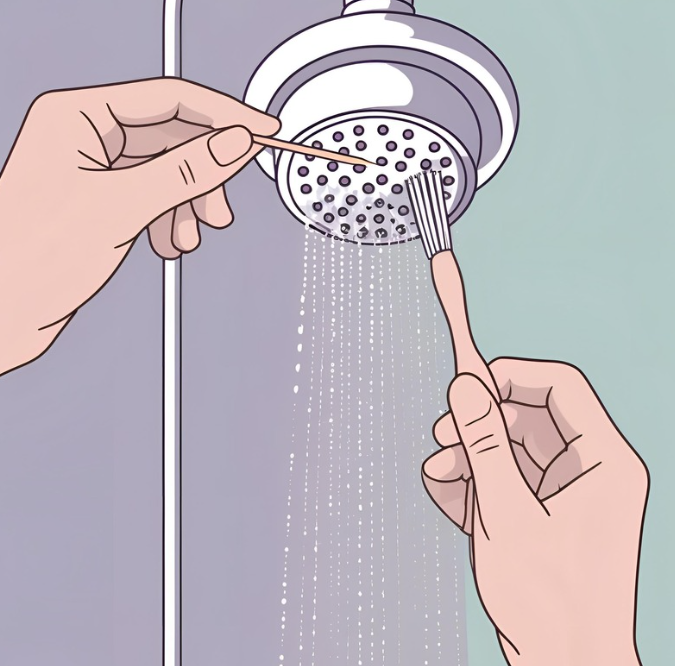
Use a toothpick or nail to clear each spray hole, then scrub with a stiff brush or use an air compressor to blow out debris.
-
Reinstall & test.
Reattach the head, turn the water back on, and watch for leaks. If the drip’s gone, congrats—you fixed your leaking shower head!
🔧 Method 2: Replace a Worn Rubber Washer
Why it leaks: The “O‑ring” or washer inside your shower head or faucet cracks over time, letting water seep through.
-
Turn off the water supply.
Use your bathroom shut‑off valve or the main line.
-
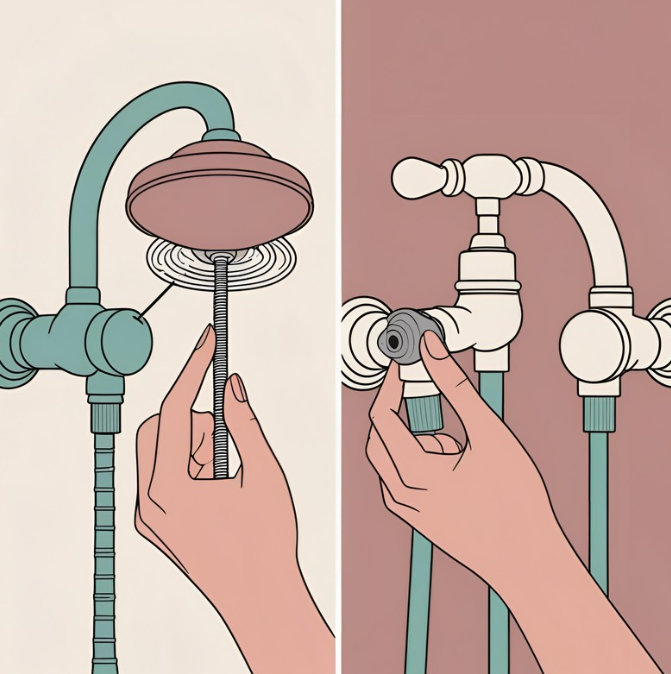
Identify the bad washer.
-
Single‑handle shower: Washer sits inside the shower head swivel ball.
-
Two‑handle (compression) faucet: Washer lives inside the hot or cold valve stem, depending on which handle leaks.
-
Swap the washer in your shower head.
-
Remove the collar nut at the swivel ball with a wrench.
-
Pull off the old rubber washer and insert a matching new one.
-
-
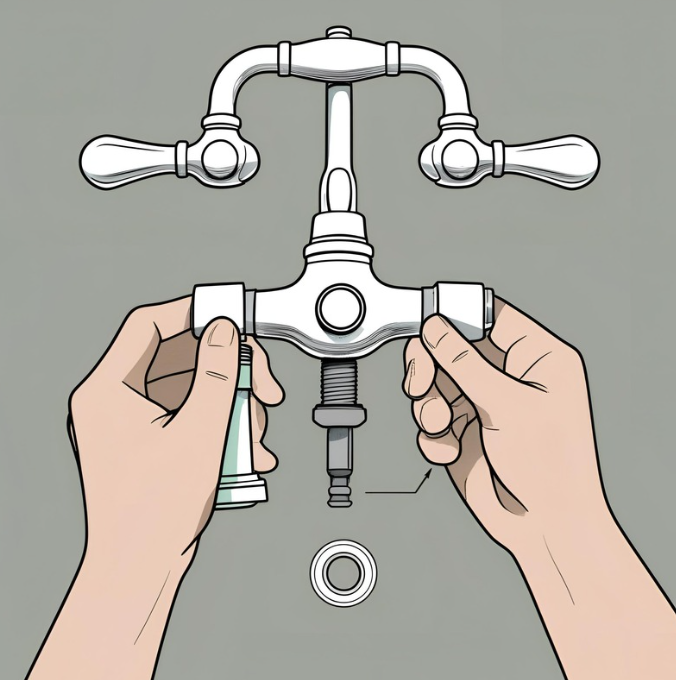
Swap the washer in your faucet.

-
Unscrew the leaking handle, remove trim and stem nut with a deep socket.
-
Replace the washer (and seals, if you have a kit), then reassemble the stem and handle.
-
Reassemble & retest.
Snugly reconnect the head or faucet stem (no over‑tightening), restore water, and confirm the leak is gone.
Conclusion:
Whether it’s a dripping shower head or a worn‑out O‑ring, these simple DIY shower head leak fixes let you stop leaks, save water, and avoid plumbing bills—all with common household tools and parts. Stay dry and enjoy a perfect spray every time!


![[2026 New Full Set] Zebra Mildliner Mix Dual-Color Highlighters - Set of 10 New Aesthetic Gradient Shades](http://stationerypal.com/cdn/shop/files/Zebra_Mildliner_Mix_Dual-Color_Highlighters_10.jpg?v=1774868336&width=298)
![[2026 New Full Set] Zebra Mildliner Mix Dual-Color Highlighters - Set of 10 New Aesthetic Gradient Shades](http://stationerypal.com/cdn/shop/files/Gemini_Generated_Image_phsh3xphsh3xphsh.png?v=1774868281&width=298)


